Six years ago, I paid $0 for an Avid Media Composer certification course. I thought it was the only professional option. Then DaVinci Resolve changed everything.
Today, I edit everything from YouTube videos to documentary features on Resolve. I pay $0 for the software — the free version handles 95% of what most filmmakers need. And I’ve never looked back.
This is not a tutorial. This is the workflow I’ve developed over six years of professional documentary and commercial editing — the specific steps, the keyboard shortcuts I actually use, the habits that have made me faster and better at editing.
Why DaVinci Resolve?
Color Correction That Can’t Be Beat
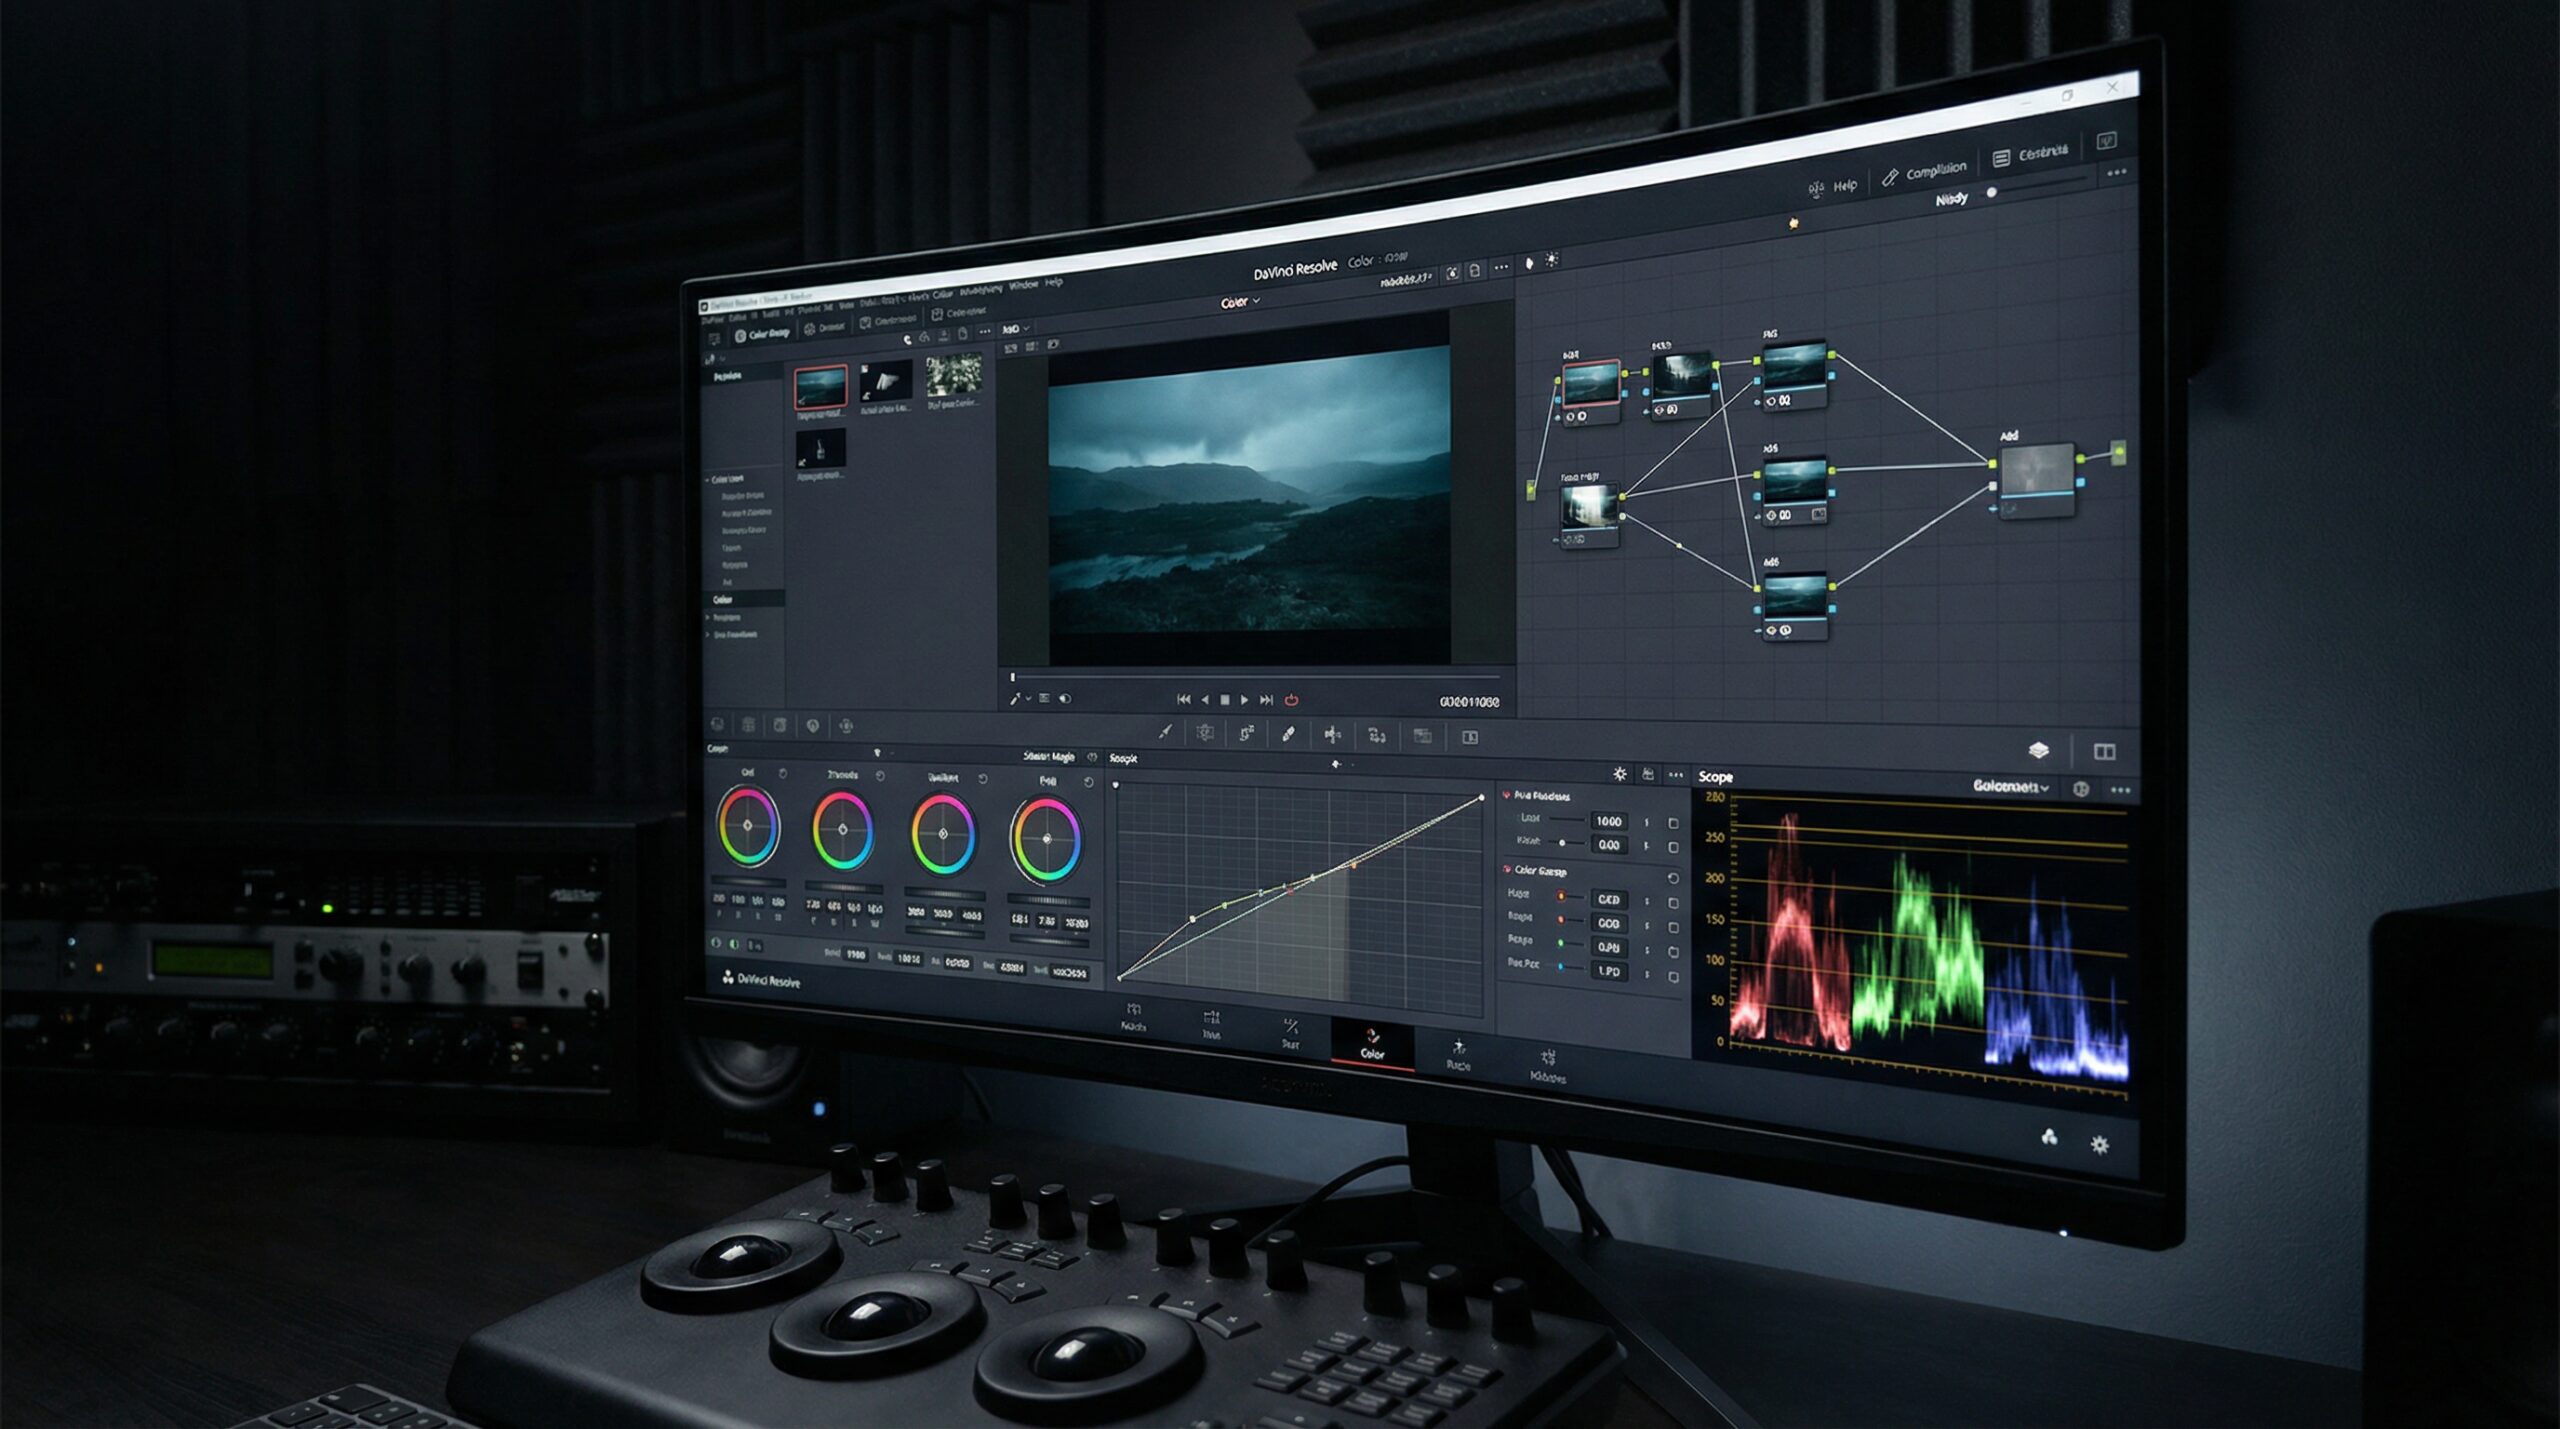
Resolve was built for color grading. Before it was an editor, it was a dedicated color correction system. That heritage shows in every tool: the node-based color workflow is more intuitive than layer-based approaches, the primary and secondary correction tools are more powerful, and the HDR support is years ahead of the competition.
Free Version Is Actually Free
Adobe wants $54/month for a Creative Cloud license. Over a five-year career, that’s $3,240 in software costs. DaVinci Resolve Studio — the one-time $295 purchase — is a better program, and it costs less than six months of an Adobe subscription.
The free version isn’t crippled. The only things you can’t do without Studio are stereoscopic 3D, multiple user collaboration, and a few specialty codecs.
My Editing Workflow: Step by Step
Step 1: Organize Before You Touch Anything
Before I import a single clip, I create a project structure. Every folder, every bin, every clip gets named properly. This takes discipline, but it pays off when you’re hunting for specific footage during editing.
Step 2: Sync Multicamera Footage Immediately
For multicamera shoots, the first thing I do after ingest is sync everything in Resolve. The multicamera editor in Resolve is fast and intuitive — select your angles, view them simultaneously, and cut in real-time by pressing the number keys as you watch.
Step 3: The Assembly Edit — Picture Lock on Story First
I dump everything into the timeline and watch it all. No color, no audio sweetening, no graphics. Just picture lock on the story.
“Color is the last thing you notice when it’s right, and the first thing you notice when it’s wrong.” I heard this from a colorist who worked on major Hollywood films. It’s stuck with me through every project since. Finish the story first. Get the color right last.
Step 4: Audio Comes Second
Once the picture is locked, I sweeten audio in Fairlight: EQ on dialogue, gentle compression, spectral de-noise, room tone fills. All of this happens in Resolve’s built-in Fairlight page.
Step 5: Color Last
Only after picture and audio are done do I touch color. Start with basic correction (exposure matching, white balance, saturation consistency across cameras), then move to creative grades. The node-based workflow means every correction is non-destructive, adjustable, and reversible.
Essential Resolve Tips
- Learn keyboard shortcuts. I use maybe 15 shortcuts daily, but they save hours over a year. JKL scrubbing is the most important — it’s how you develop a feel for the edit.
- Use adjustment clips. Instead of applying effects to individual clips, use adjustment clips. Change one thing, everything updates.
- Render cache aggressively. Nothing kills flow like playback stuttering. Pre-render your timeline for smooth playback before color sessions.
- Save versions. Resolve’s versioning is built in. I save a new version before every major session. It costs nothing and has saved me from bad corrections more than once.
The Bottom Line
DaVinci Resolve is the most powerful video editing software available at any price. The free version is all most filmmakers need. The learning curve is real — particularly on the Color page — but it pays off in a workflow that handles everything from multicam cutting to HDR grading in a single application.
If you’re still paying monthly for Premiere, give Resolve two weeks. You won’t go back.
Mehedi Rahman is a freelance multimedia producer and impact filmmaker with 12+ years of experience. He has shot documentary and humanitarian work across Yemen, Bangladesh, and South Asia for the World Food Programme and international media. Based in Sri Lanka, he specialises in visual storytelling that moves people — and gear that makes it possible.